Purple-podded Peas on Plates

Purple pod pea vines and blooms

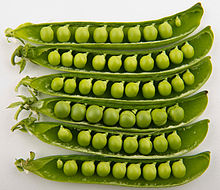
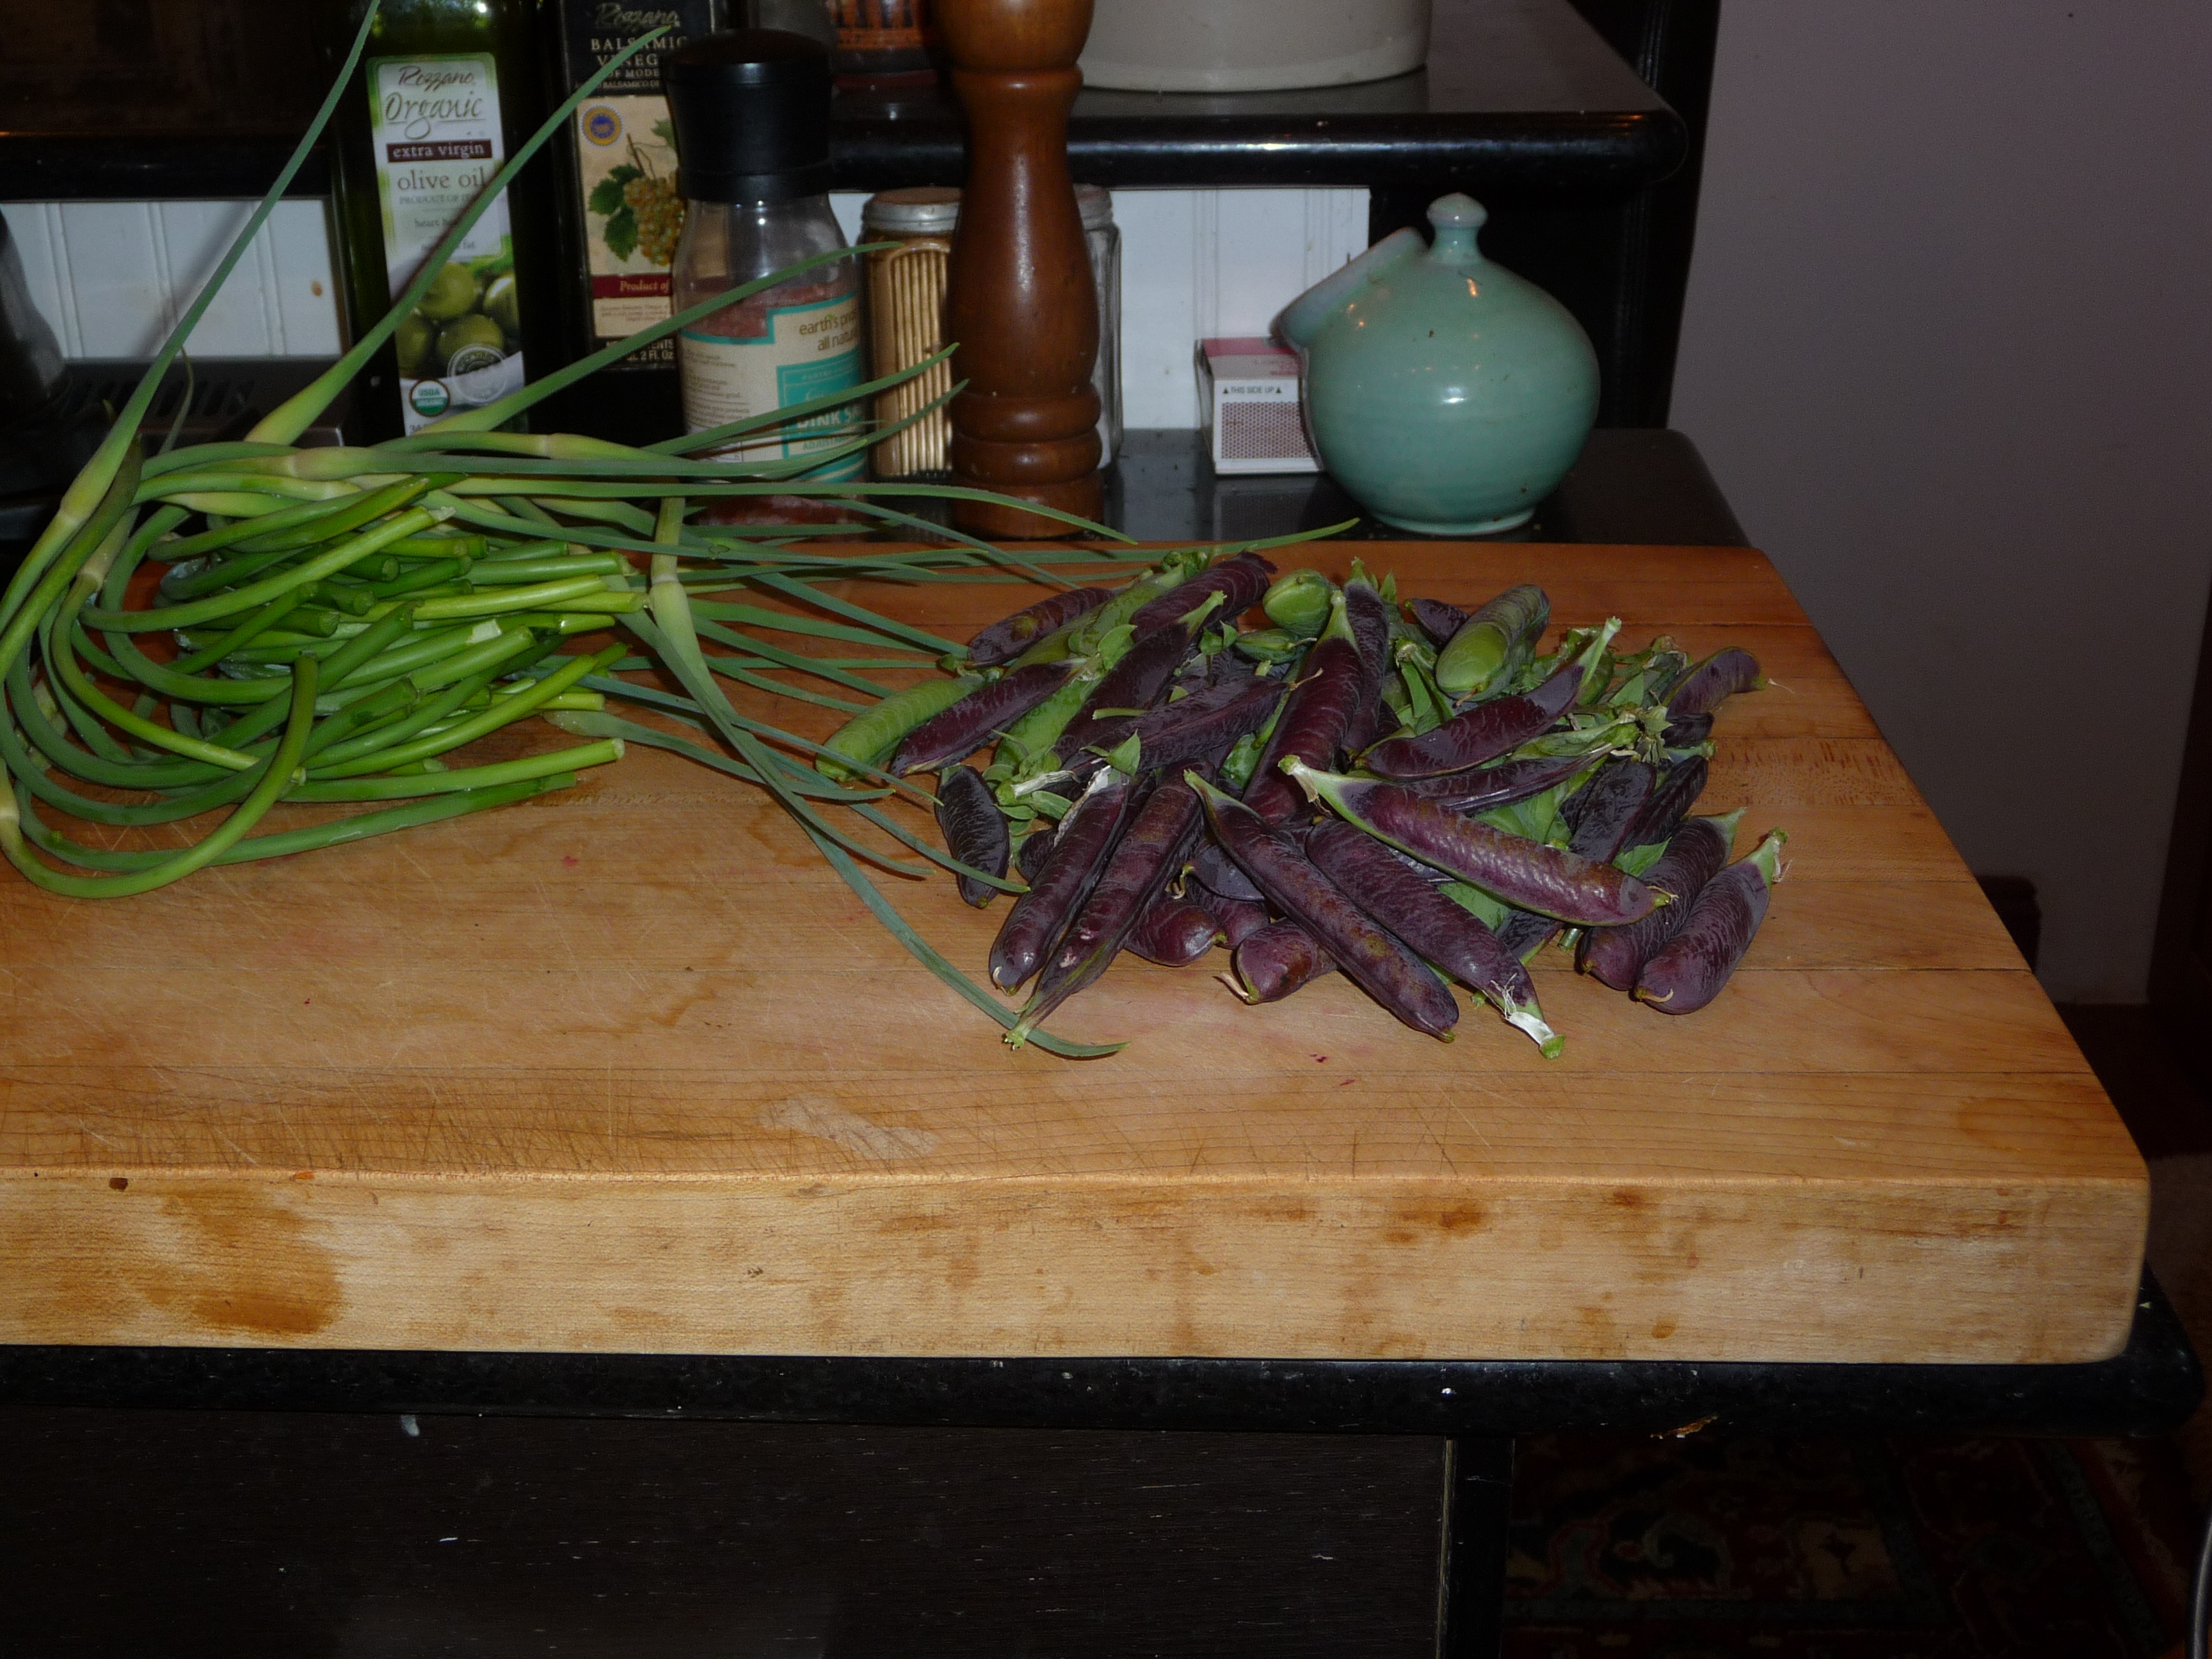
It’s been a while since I managed to download photos, especially food photos since I have to remind myself to take them in the first place. Unfortunately, once I cook, I’m so focused on actually EATING, that I never think to record things until we’re stuffing the empty plates into the sink. But I did manage to photo one plate of purple-podded shell peas from start to finish sometime in June.

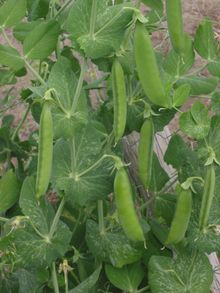
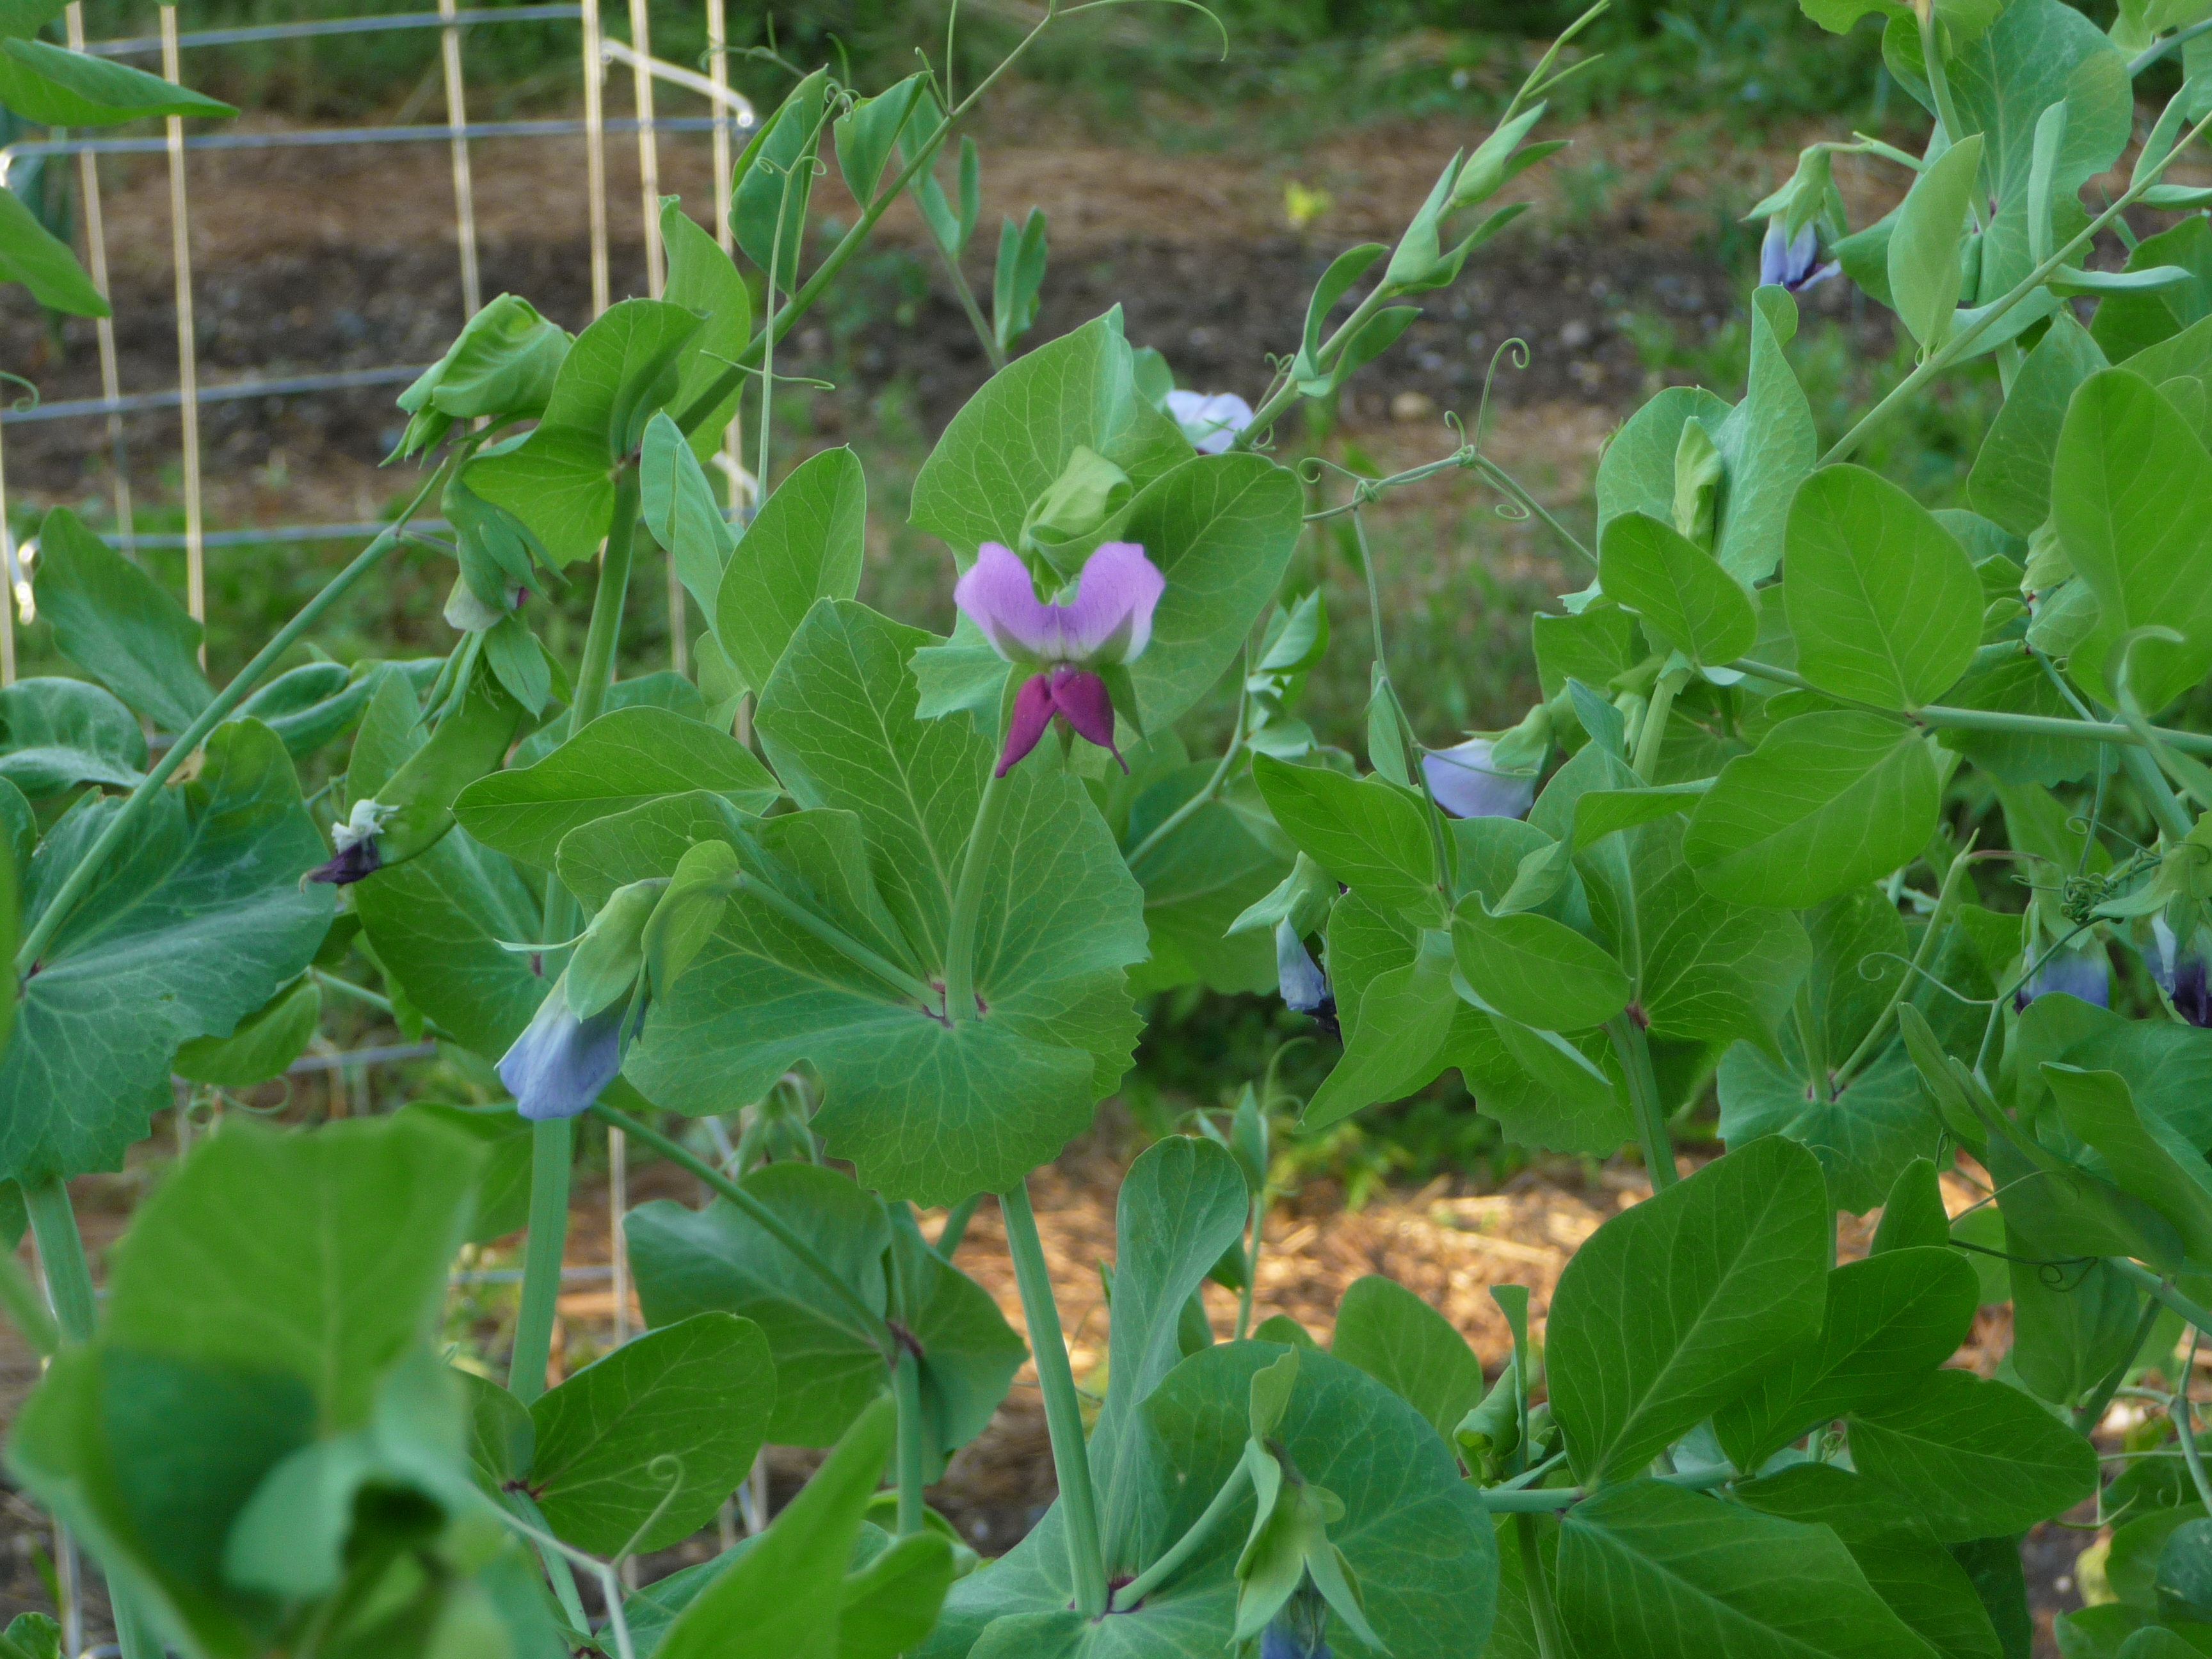
The rabbits had decimated my early-seeded veggies including the snow peas that I poked into the ground in about mid-April. I don’t mind tithing to the critters but I go ballistic when they only leave me a tenth or less! So before I put the purple-podded pea plants that I had started in the greenhouse into the ground, I set up camouflage in the form of row cover pinned to the trellis. It worked; the rabbits by-passed them, and I ended up with beautiful vining peas covered in purple pods (also a fair number of green pods that apparently didn’t get the purple memo). At any rate, they were glorious, and I had several meals of peas done a couple of different ways.

Purple peas (and some green) and garlic scapes on cutting board

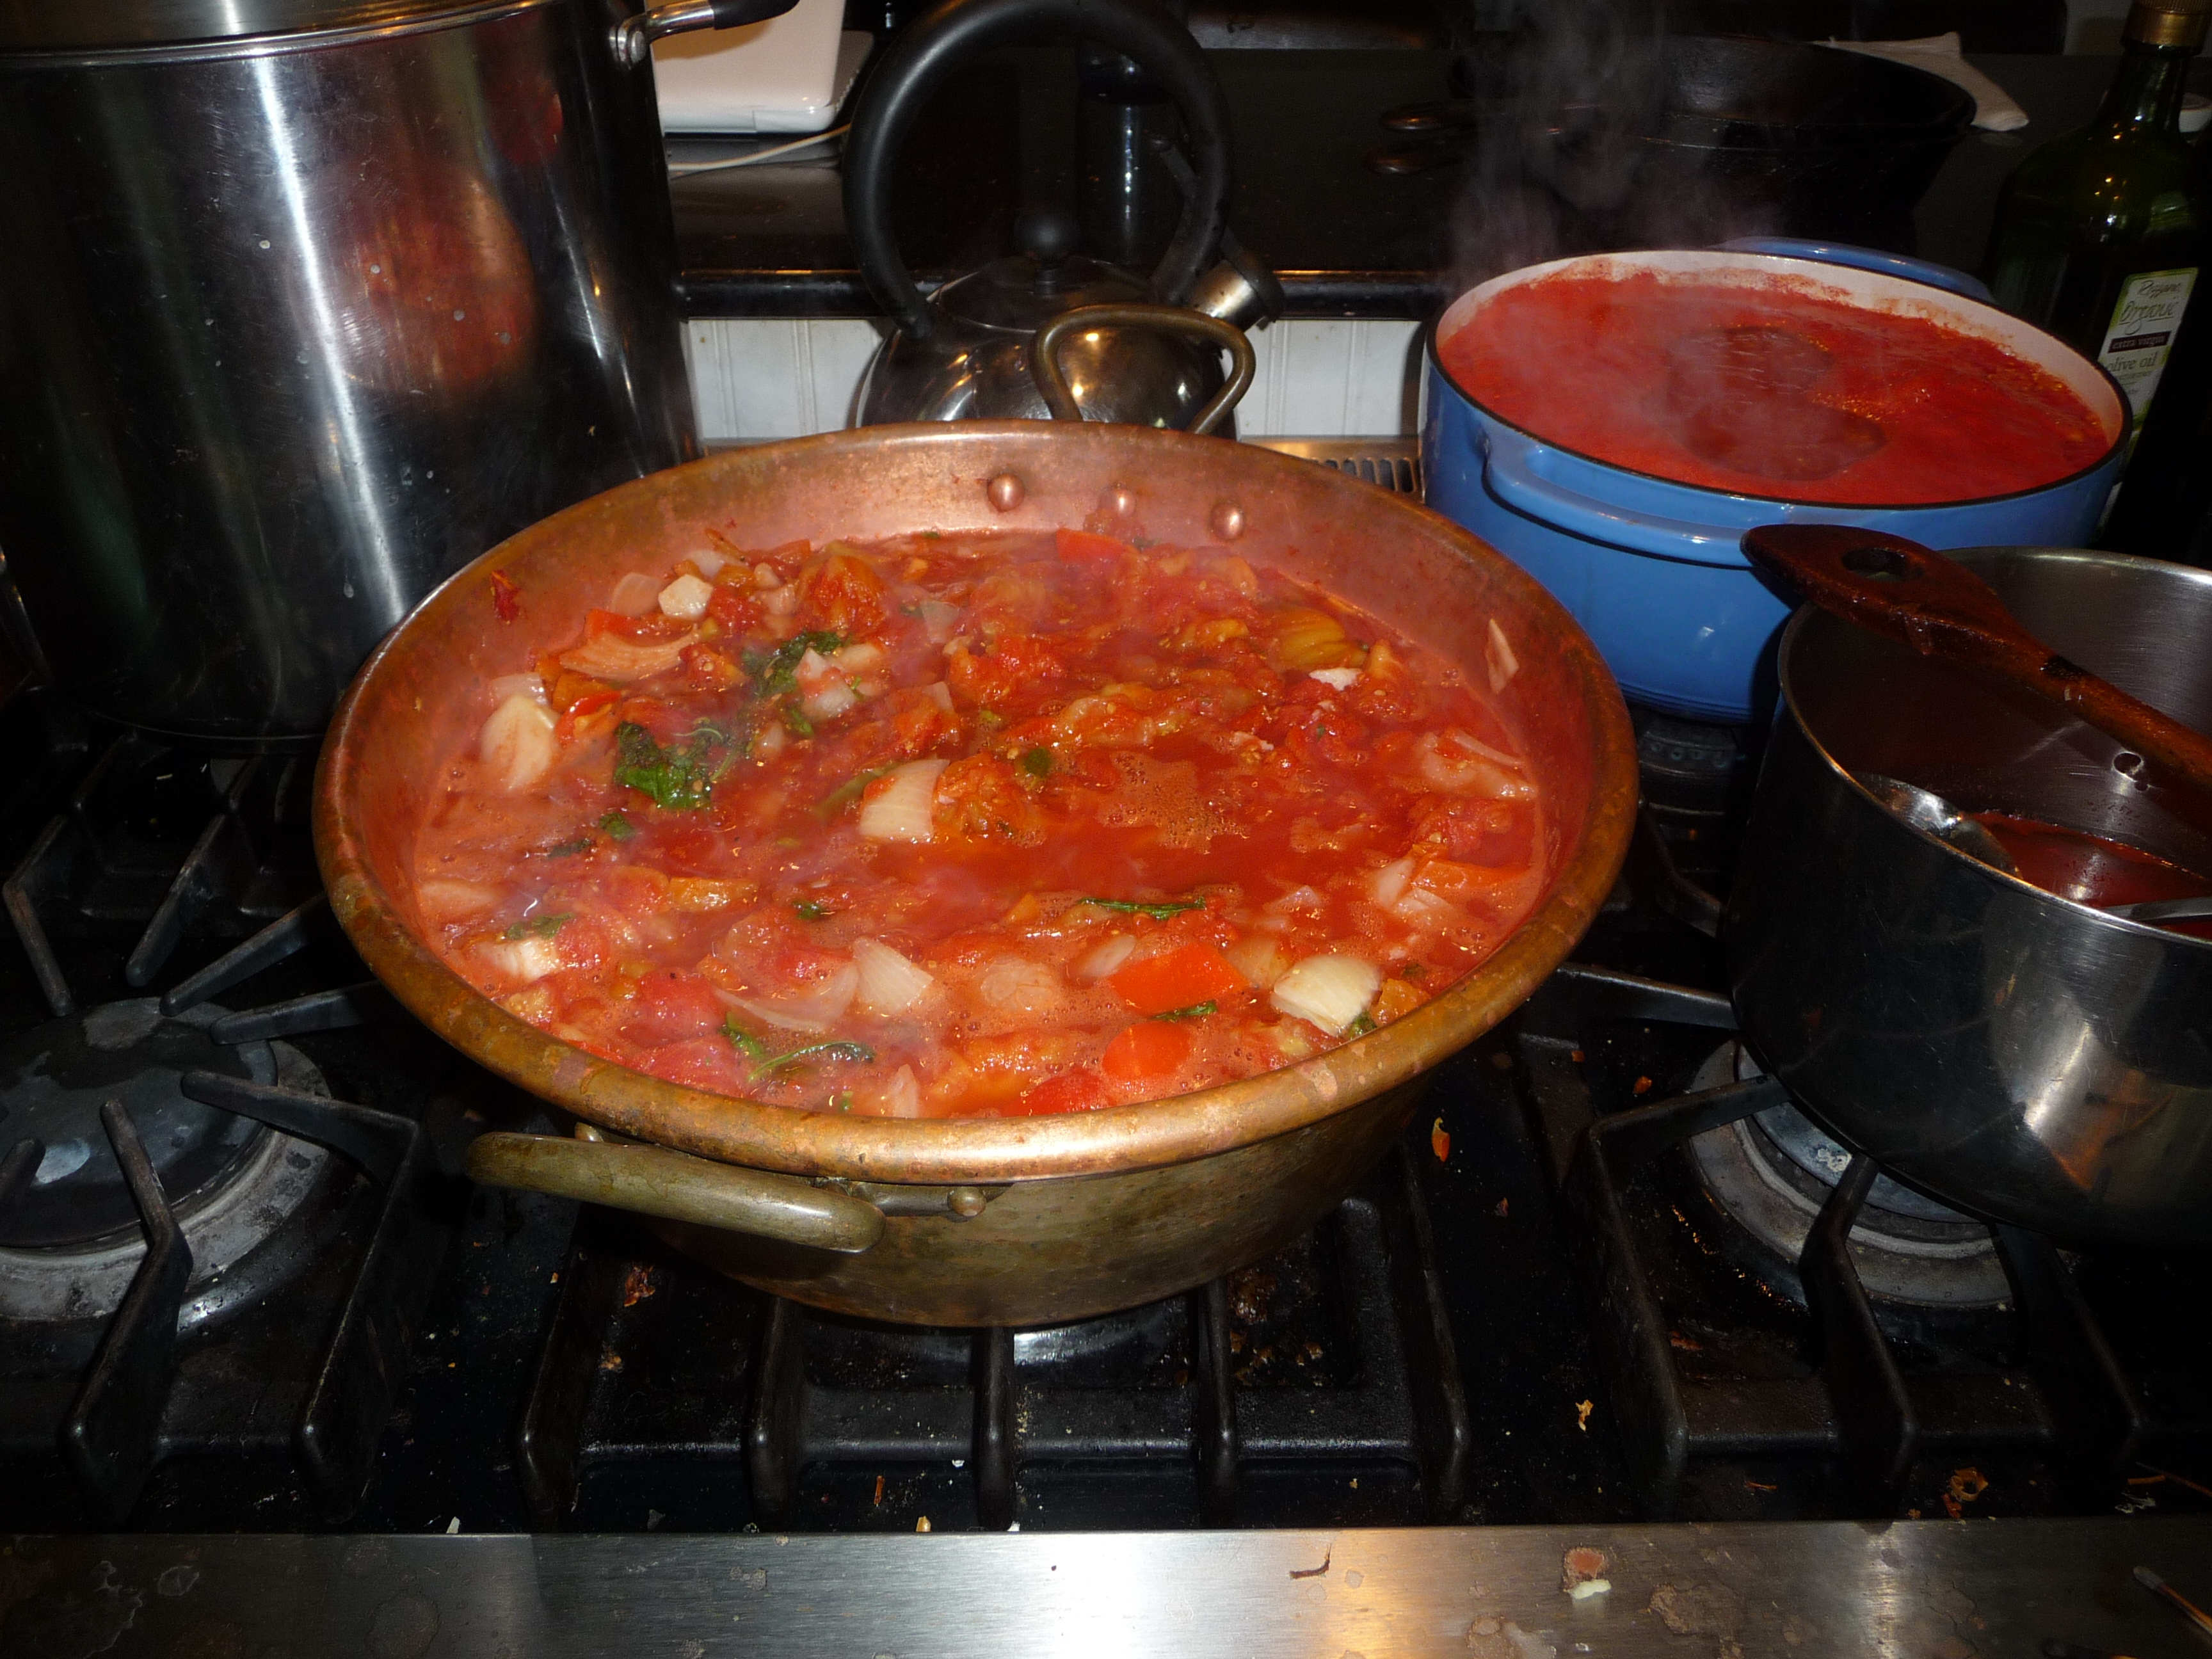
When they finally gave out, we clipped the vines at the ground and laid them behind the cabbages and purple kohlrabi that I had bought at Kingstown Farm Home and Garden. The kohlrabi had been marked ‘red cabbage,’ which appeared to be truth in advertising when it had only a couple of leaves on it. But instead of red cabbage it turned into beautiful purple globes that I turned into slaw and ate with fish tacos. (So much for warm red cabbage salad with garlic, toasted walnuts and feta, but the slaw was lovely).

But I digress.
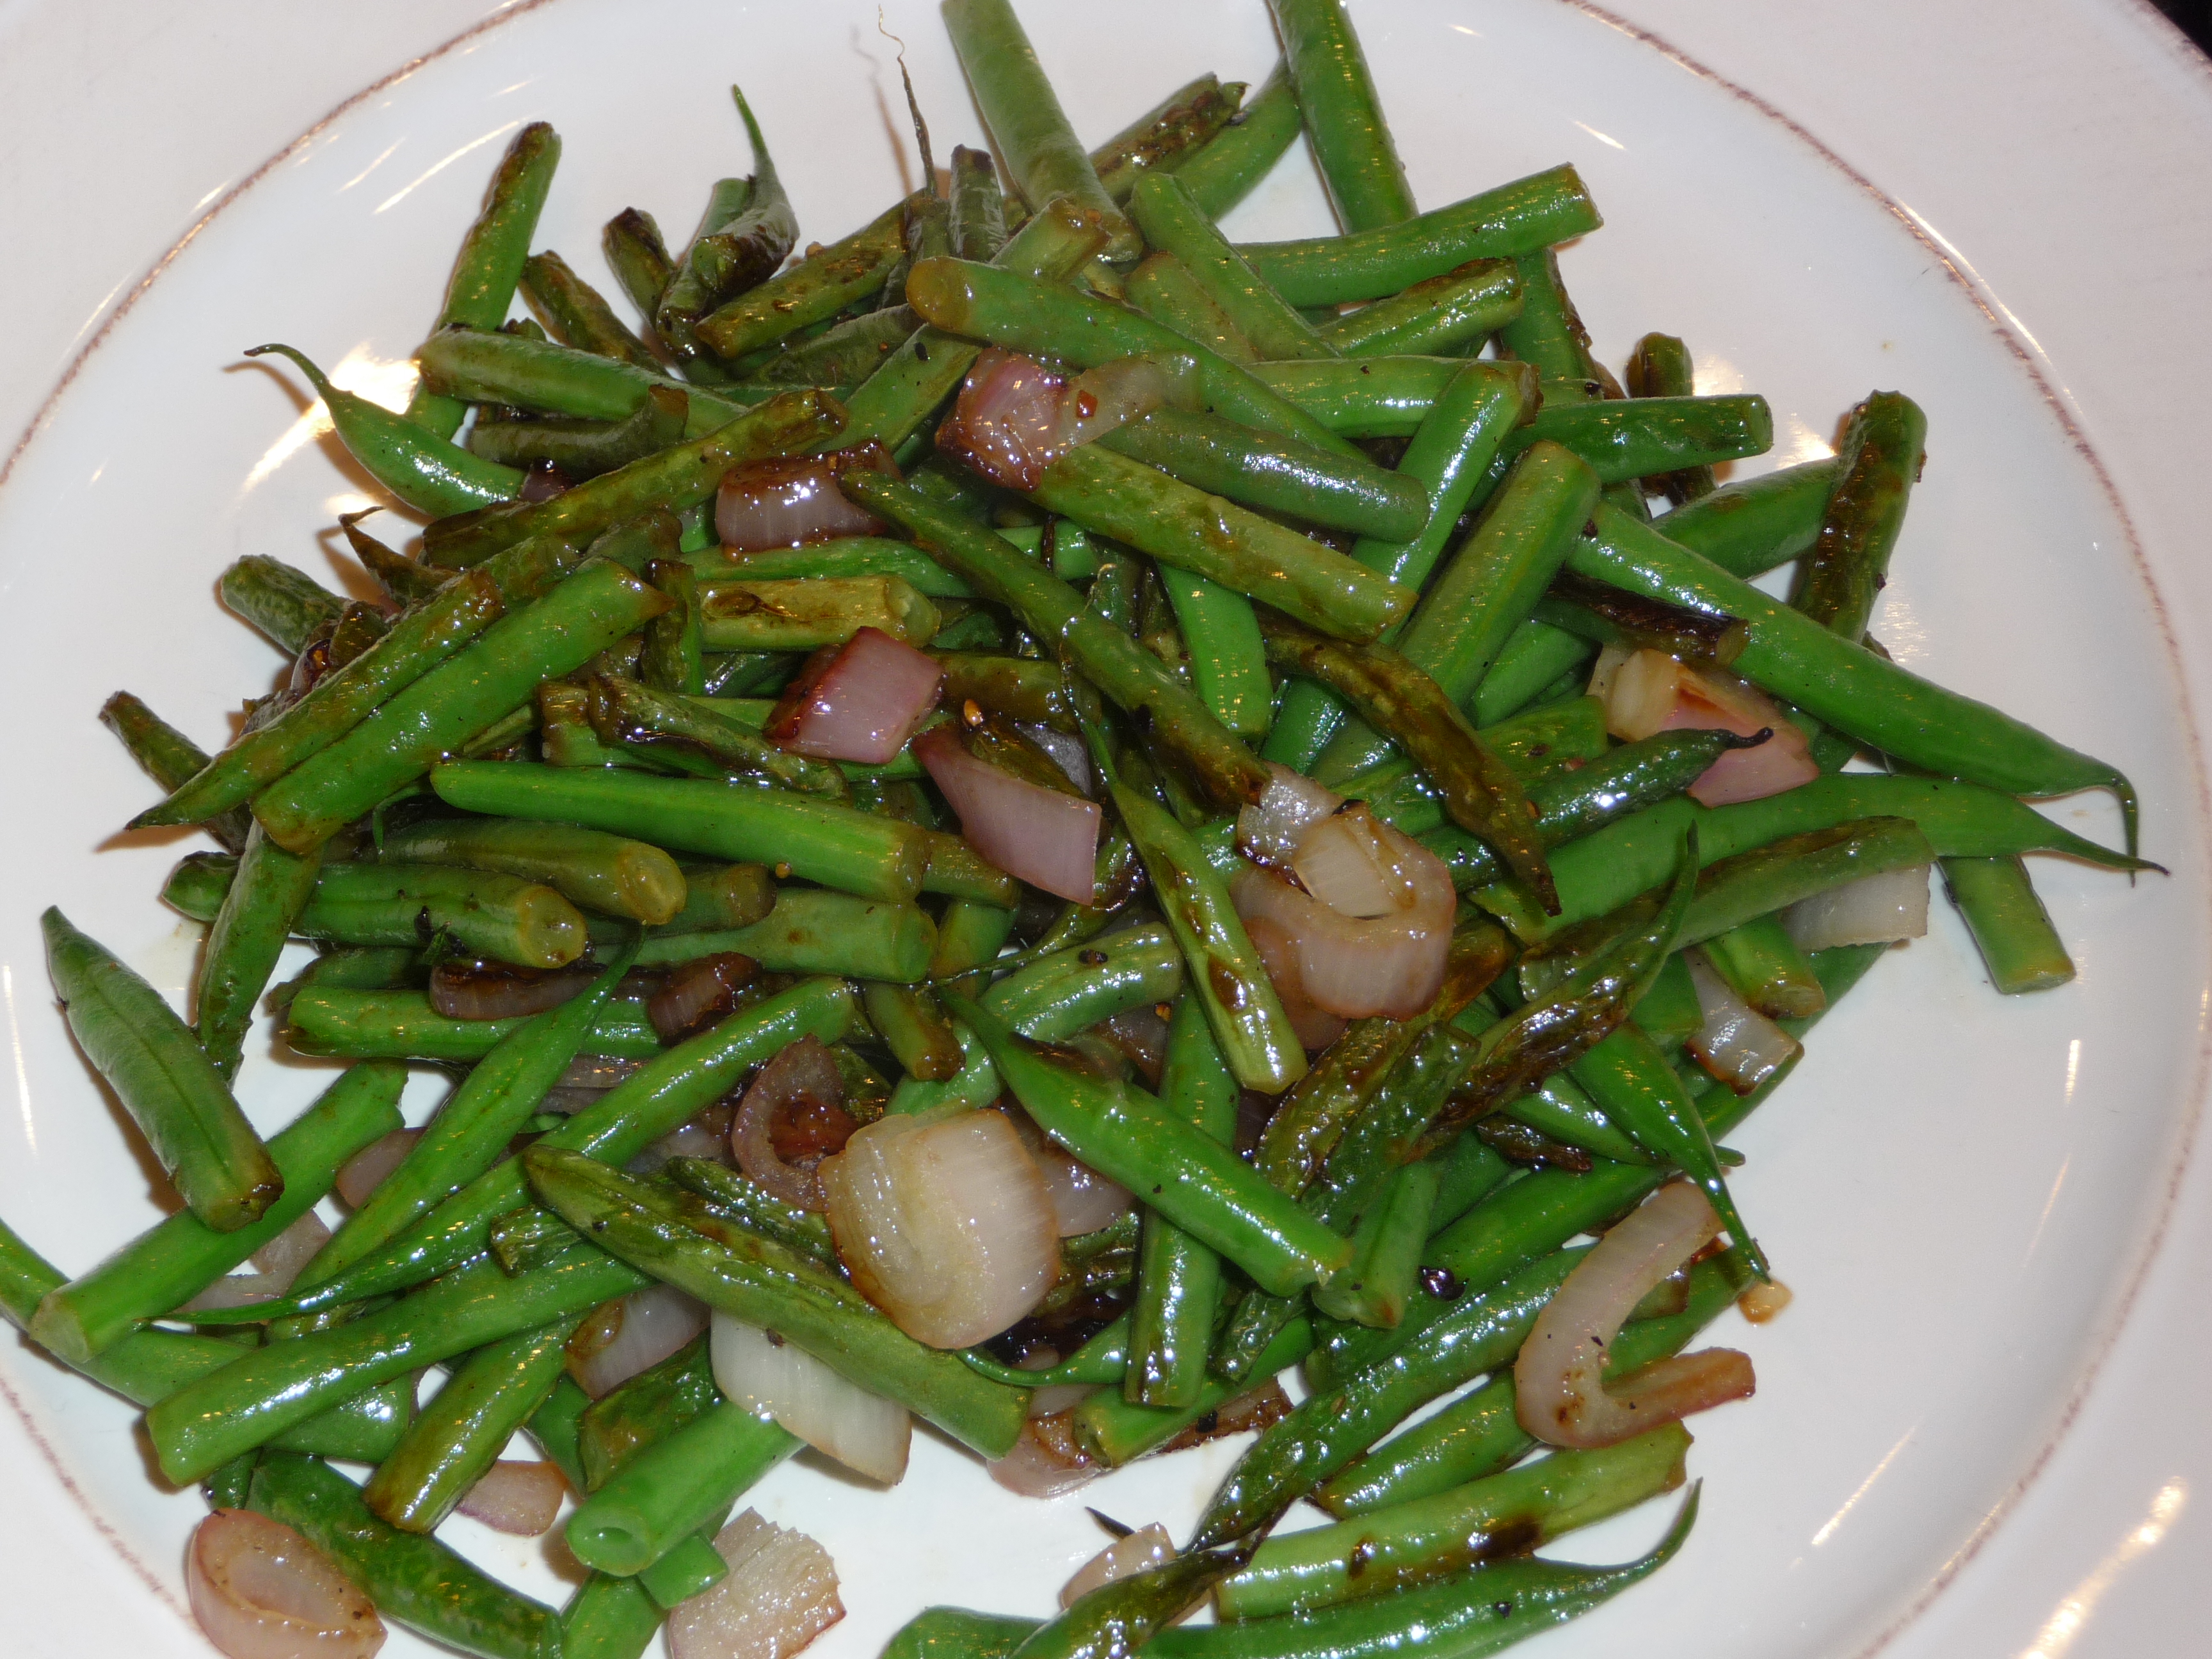
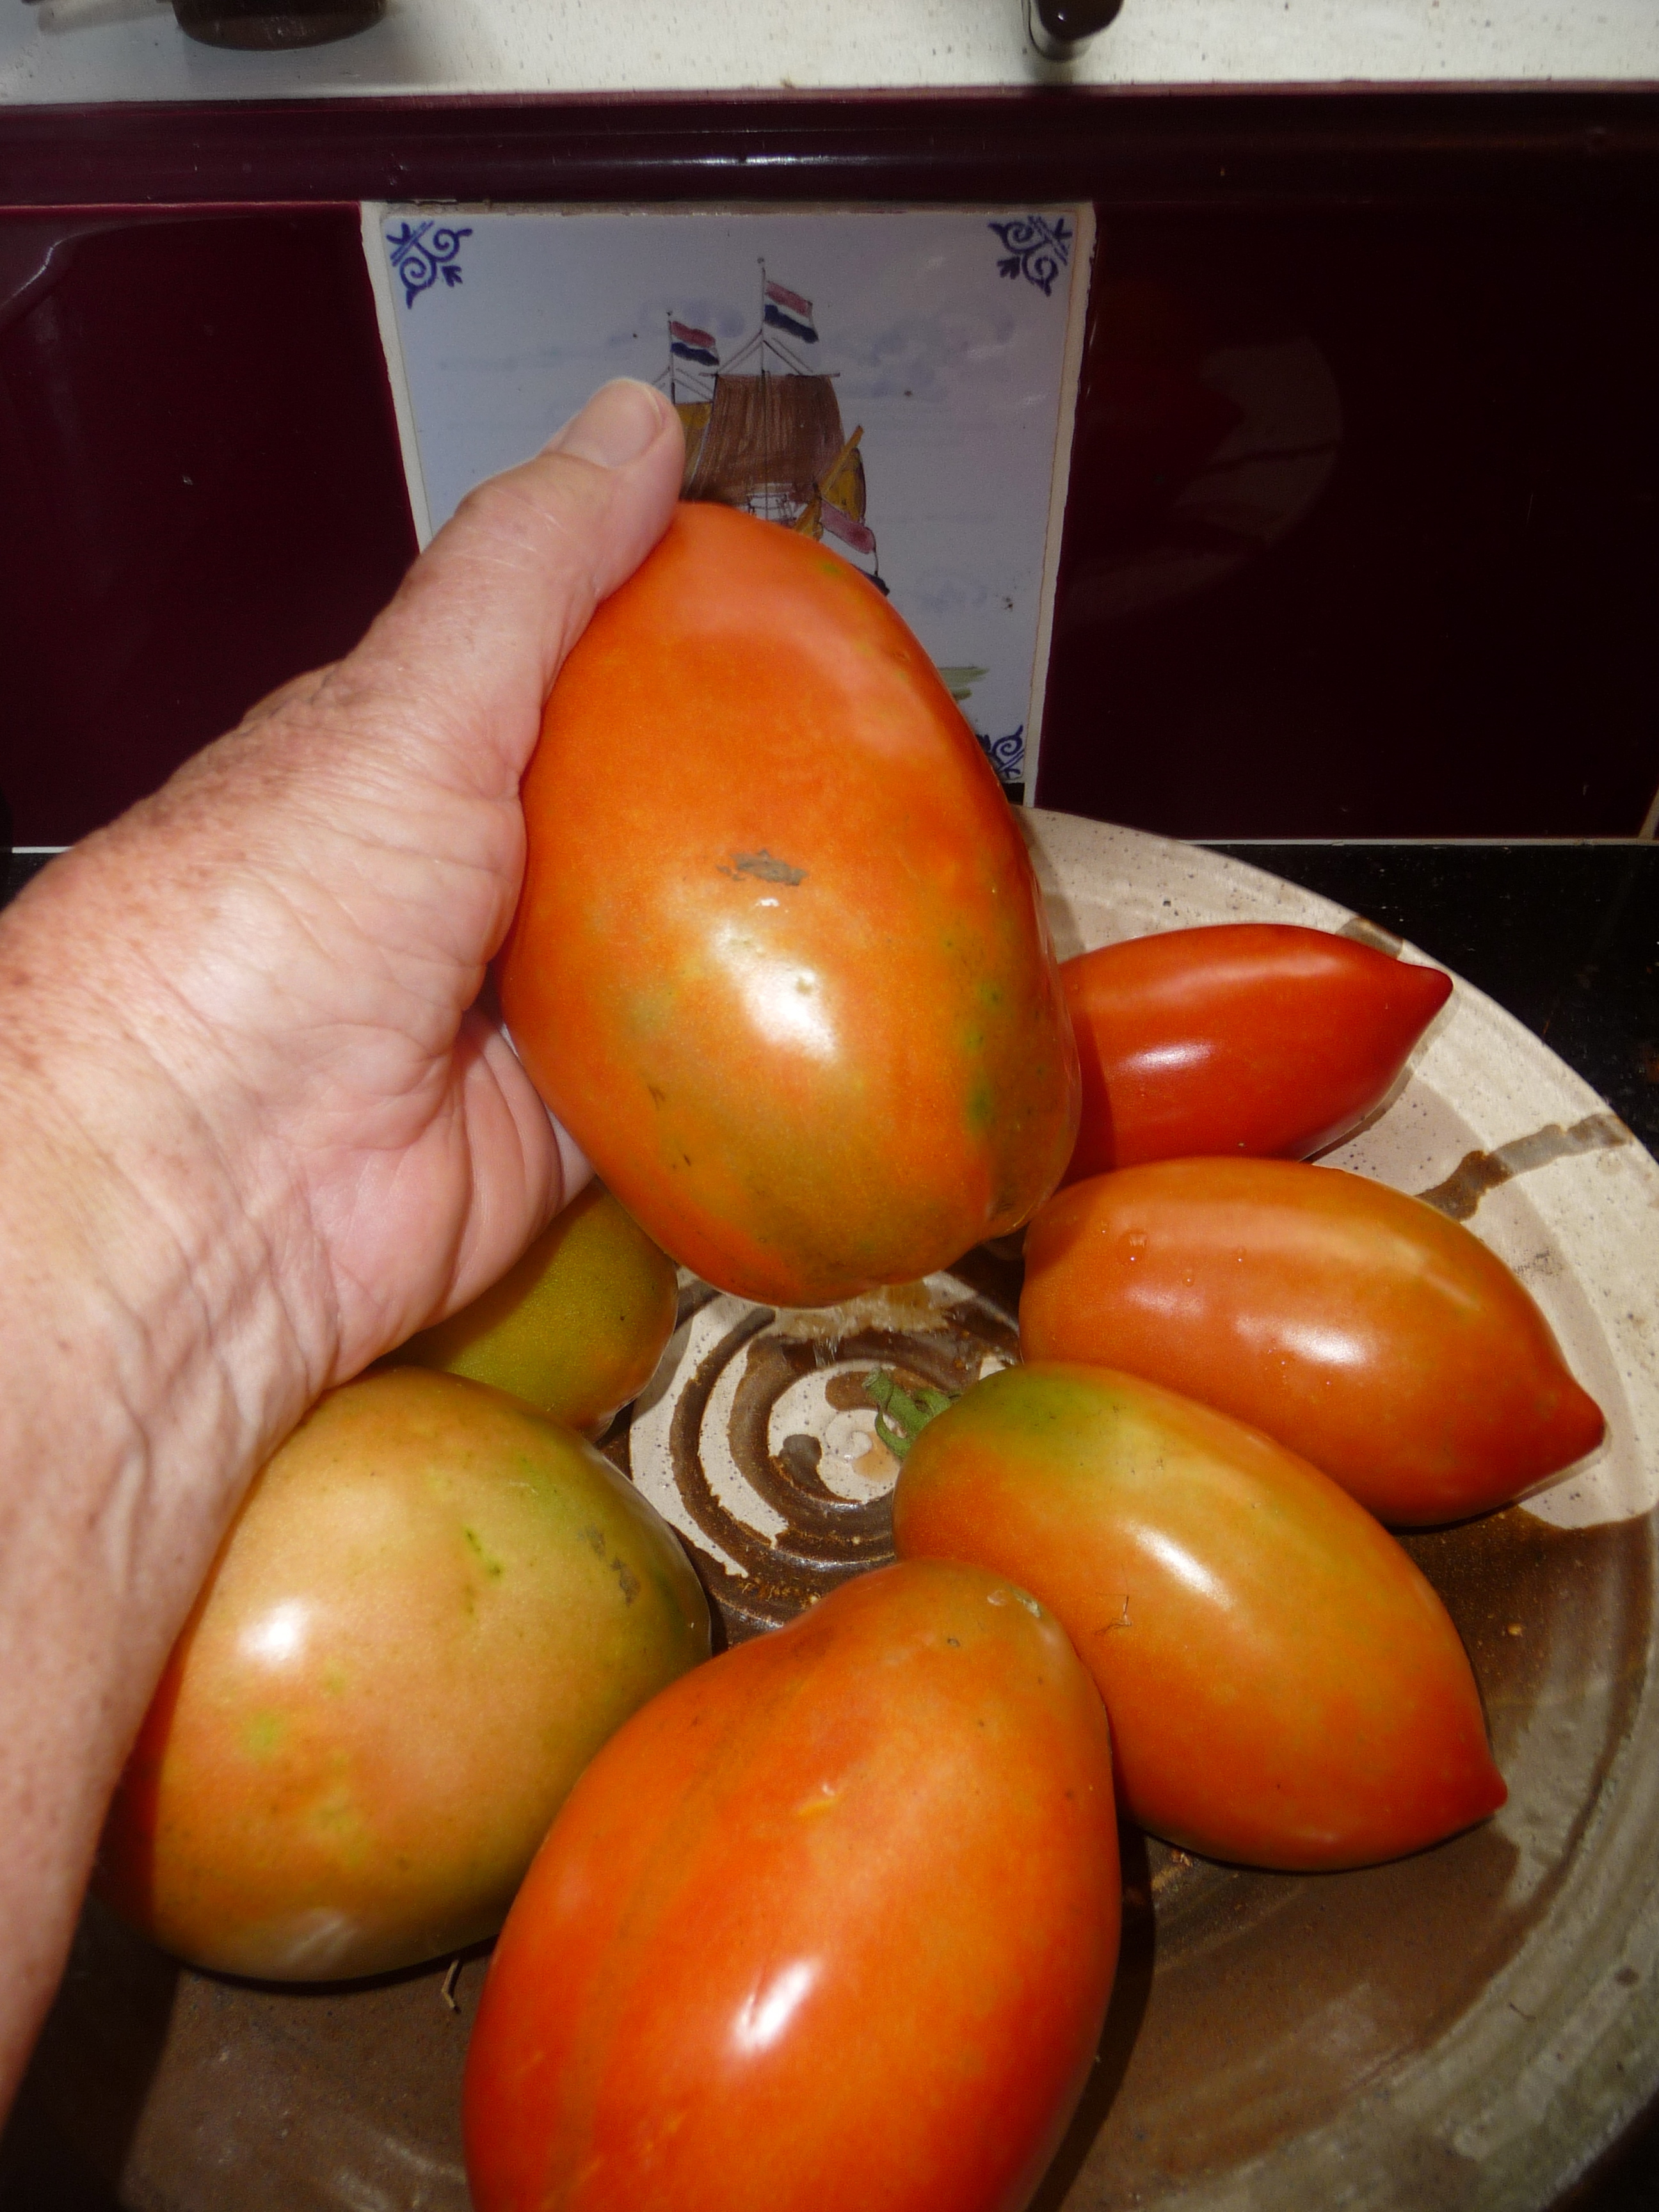
The peas, as I’m sure you suspect, are finished. We’re now picking haricots verts, herbs, the first Sungold cherry tomatoes (today!), serranos and lemon peppers, but I’m still thinking ‘PEAS’ because it’s now time to put in a second planting of them. And bless my husband’s soul, he’s prepped a bed that I can stick them into in hopes of having more this fall.

Purple pea pods opened
Purple pea pods blurry but opened


This year was the first that I tried the purple podded variety, and would do it again happily, though I’d make the trellis higher next time. Instead of 4.5 feet, they got to be about seven feet tall and drooped over the too-short support I had put up. Their flavor (always a critical point with me) is really good-sweet, not mealy or starchy if you get them before they swell the pods too much. They’re prolific, and because most of the pods are actually a burgundy-purple, they’re much easier to find and pick than the green pods we usually have.


I shelled them while watching the news and stir-fried them in olive oil with a chopped shallot and a couple of slices of prosciutto. Delicious. To make them go a little farther the second time around, I added them to al dente whole grain pasta then mixed in some grated Asiago cheese and just a splash of cream. We ate it with a glass of wine. I love eating at this time of year! (Who’m I kidding? I love to eat!)

Sauteed peas, shallots and prosciutto

Review of OK Now What? A Caregiver’s Guide to What Matters

Review of OK Now What? by Louise O’Brien, HomePorts, Inc.

Highly Recommended

“Caring for a loved on who is in the final stages of life may eventually turn into a rewarding experience but working toward this goal is loaded with difficulties, doubts and anxieties. A caregiver needs and deserves to have help at each stage of the process. That is why this book should be available to everyone who finds themselves in the role of caregiver.” Louise O’Brien, Homeports newsletter.

To read more, go to:
http://homeports.org/news.htm

HomePorts, a non-profit that helps residents stay in their home as they grow older, facilitates “aging in place” and promotes safe and healthy aging with peace of mind for members and their families.

OK Now What? A Caregiver’s Guide to What Matters

What matters most when someone close to you has been diagnosed as terminal? Time and quality of life for both of you. Coping with both the practical and emotional questions of this challenging passage.

We are all going to die one day, yet every death is individual — as is the walk toward that individual death both for the one leaving and for the ones they leave behind. Focusing on what truly matters between human beings while taking care of the business of living at the end of life is what this book is about.
Reviews:

“Highly Recommended! The solid ground to stand on while maintaining the balance to serve others in their time of need.”  Stephen and Ondrea Levine, authors of 

We all need to be coached through the difficult experiences life presents us with by those who have lived the experience. Sue and Nancy’s book is what we all need: a guidebook through life’s difficulties while truly dealing with what matters and being compassionate to those who are involved. Reading it will help you and your loved ones survive.” Bernie Siegel, MD, author of 365 Prescriptions for The Soul and The Art of Healing.

It’s like having a friend who understands…completely

“This book has been my best friend for the past few months–a book that’s stayed by my bed at night and within reach during the day, the whole time I’ve been taking care of my terminally ill brother. It’s a smart, conversational mix of practical tips, real-life experience and honest advice, even able to make me laugh at myself when I’ve been all tied up in knots. Most importantly, the authors keep reminding me that I’m not alone. I suppose some people will read “OK Now What?” from cover to cover, but for me, it’s been a book to flip through until I found the “Caregiver Tip” that fit the current dilemma, or a section that helped orient me to what was coming next. Being a caregiver for someone you love is hard and lonely work, and Sue Collins and Nancy Taylor Robson have been the non-judgmental friends I’ve needed. Thanks.” Margie

Very helpful 

“Lots of good information in here. Wish I’d had it long before. Some very practical insight particularly on dealing with others in the family or group.” Elizabeth Clark

Paperback or ebook. Available online at BarImage

http://www.amazon.com/Now-What-Caregivers-Guide-Matters-ebook/dp/B00K001HXE/ref=sr_1_1?s=books&ie=UTF8&qid=1403801301&sr=1-1&keywords=nancy+taylor+robson

OK Now What? A Caregiver’s Guide to What Matters

ImageHead to Wind Publishing announces the release of Ok Now What/ A Caregiver’s Guide to What Matters by longtime hospice nurse, Sue Collins, RN and Nancy Taylor Robson. 

What matters most when someone close to you has been diagnosed as terminal? Time and quality of life for both of you. Coping with both the practical and emotional questions of this challenging passage.

“We all need to be coached through the difficult experiences life presents us with by those who have lived the experience. Sue and Nancy’s book is what we all need: a guidebook through life’s difficulties while truly dealing with what matters and being compassionate to those who are involved. Reading it will help you and your loved ones survive.” Bernie Siegel, MD, author of 365 Prescriptions For The Soul and The Art of Healing.


http://oknowwhat.net/

http://www.headtowindpublishing.com/books/ok-now-what

Seeding Peas Indoors

Peas ready to harvest

I love peas. I enjoy frozen peas steamed barely warm or thawed and sprinkled into salads, but I especially love fresh peas plucked from their tendrilled vines, shelled and popped almost immediately into a steamer on top of a couple of lettuce leaves. Cooked until they are bright green and barely tender, then bathed in butter or maybe lemon juice and pepper for those who shun butter, it’s a little bit of culinary heaven. Peas are early-season veggies that flag and turn starchy (blah-tasting is the technical term) as soon as hot summer arrives, so there is a seasonal window during which to plant for decent harvest. Depending on variety, they need anywhere from 54 days to 72 days give or take to go from seed to plate. The rule of thumb here in Maryland was: Plant peas on St Patrick’s Day. Which in more ordinary years should get you safely through from poking those wrinkled little rounds in the ground until you’re blissfully scooping up warm spoonfuls at the dinner table.

Shelling peas
Shelling peas

Yet unless the conditions are right, you’ll be wasting both your seed and your time if you only plant by date.  Peas will rot instead of germinate if the soil is too wet and cold (below 48F or so; some say 45F but that’s not been my experience), as it has been this year.* I’ve agonized over when to plant peas. Finally, this year, I started some in a flat and will transplant them into the garden when the weather settles down some. I’ve got a small back yard greenhouse, which I love, but you don’t need one to start plants indoors. There are back-posts in this blog that will give you plenty of good advice on how to do it at home without one. Before the greenhouse, (which saves me all kinds of money on anti-depressants), I used to start them in the kitchen and guestroom, both of which face south, and rig up some overhead full-spectrum lights to supplement the sometimes meager sunlight. Pea plants are sturdy little things and are as easy to transplant from a flat of individual cells (so the roots don’t tangle together) as lettuce, kale, and other early season veggies. The garden centers have got their seeds in now, so browsing and imagining is fun (for some people it’s clothes or shoes, for me it’s seeds and food). A visit to your favorite garden center makes a lovely Saturday’s project – get seeds and maybe a bloom or two for spiritual uplift, chat with friendly souls there about growing things, get home and plant the seeds in flats under lights, then relax and feel good about the cycle of life.

Peas seeded 3/12/14 and 3/22/14 just poking thru

Once in the garden, peas (Pisum sativum), fix nitrogen to their roots, so they require little if any nitrogen fertilizer, which tends to produce foliage at the expense of fruit. They also come out of the garden early enough that you can plant a second crop of summer somethings where they’ve vacated, which makes them a great use of space. You can also seed some into a container at the back door – they’re really pretty climbing up a trellis and they make great snacks right out of the pod. Replace the pea plants in June or so with something like a pepper plant and a couple of different basils and maybe a thyme for jerk chicken on the grill.   * Even if it the weather conditions are perfect for planting peas, if you have blackbirds and robins around, you might want to consider planting them in a meandering stream rather than a regimented row. Blackbirds and robins are marvels at discerning patterns, and once they see you put them in the ground – and believe me, they watch, especially in years like this when food is more difficult to come by – they can come down and Hoover up each seed, leaving little holes as evidence of their theft. Row cover immediately after planting also helps to thwart the birds.

Opening Jars in Winter

Aji Limon in sherry-NOT a science experiment

It may look like a science experiment but it’s actually a jar of lemon peppers  (aji limon Capsicum baccatum)– some ripe, some not so much – that I preserved in sherry last fall. The jar sits at the back of the fridge where the peppers are easy to pull out and add to all kinds of things: Thai shrimp soup, quesadillas, stews, whatever.

Today, I dropped two into the black bean soup I’m making. They add just the right amount of heat (about 2 large or 3 small for a 4-quart pot of soup usually does it for me and my heat-sensitive friends; my husband and when he’s here, our son, usually add more heat via a sprinkling of the dried aji limons we keep in a jar in the pantry).

Jarred abundance including dried aji limon

The sherry-filled jar of lemon peppers is only one of a collection of jars and freezer bags of stuff that I put by from last year’s garden. It’s a treasure trove that in winter makes it possible to create an actual meal with little actual work. Yes, it’s plenty of work in the summer and early fall, but once it’s done you can sit back and bask in all that preserved glory.

On winter days, especially during days with the kind of bone-cracking cold that the Polar Express (yes, I know, VORtex) treated us to recently, soups and stews are what’s for dinner. Putting together something warm, delicious and nourishing inside of 15 minutes simply by opening jars and bags and whatnot from what you’ve produced yourself (along with Mother Nature, of course) is incredibly satisfying, to say nothing of economical. And it lets you dump things together, cover the pot, and go sit under the quilt on the sofa in front of the fire with a book or the news while you’re waiting for it to cook. (Or in our case, it lets you suit up, walk the dog, then haul in the wood for that fire, but never mind. It’s always something.).

Simmering bean soup with everything dumped in

While it’s great to have a store of homemade condiments, ingredients, and cooking sauces that you’ve made yourself, it’s also important to know what exactly you’ll actually use so you don’t end up with wastage.  Took me a while.

Years ago, I got so carried away with the garden and fruit trees’ abundance combined with the plethora of recipes available, that I ended up with stacks of stuff moldering on the cellar shelves for ages. I canned everything I could get my hands on, (and envisioned my children eating all of it – Hah!). I hauled the filled jars down there, then, years later when the moisture had attacked the lids (and then the stuff inside), I hauled them back up again to dump the contents of the jars, one by one, onto the compost heap. Wasteful of time, energy and produce.

Over the years, I’ve learned. I now keep tabs on what we and those we love will actually not only eat, but also enjoy. Hence: spaghetti sauce, salsa, jarred tomatoes and home-made V-8, but not green tomato mincemeat or tomato marmalade; strawberry jam with walnuts and Cointreau but not rhubarb chutney; only two quarts of pickled jalapenos, not ten; two pints of pickled watermelon rind, not four quarts.

Being more circumspect about what and how much I put up doesn’t mean I don’t still experiment.  So many recipes, so little time. Year before last, I canned harrissa, a tomato-and chili-based condiment for Morrocan-y things, the recipe for which I found in the Ball Complete Book of Home Preserving. I put up ten half-pints and only used two here at home. Fortunately, our son used one to make wild goose stew from the Canada geese his father shoots, and loved it. So, I gave him all of the remaining jars. I didn’t put up any harissa this year, but plan to make more this fall, using both the Ball recipe and an alternative one that I found in a magazine. Something new and different.

Black bean soup awaiting cheese, sour cream, pesto, whatever

Having stuff like this in the cabinet and freezer feels unbearably virtuous. But for those for whom a smug sense of virtue doesn’t quite do it, (and heaven knows that only goes so far), the more important part of the exercise is what you end up with. Healthy, economical comfort food in no time flat.

Black Bean Soup

2 quarts of turkey stock (made from the remains of the Thanksgiving turkey and frozen – or 2 quarts of chicken stock)

3 tins of black beans (organic if possible)

1 onion, chopped

2 cloves of garlic (cut from the hardneck that are hanging on the porch and are already starting to send up green shoots way too soon; what’s THAT about?!)

I chopped sweet pepper, or about a cup of frozen chopped sweet pepper from your freezer

1 pint of salsa

2 or three hot peppers –whatever you’ve got

1 tblsp smoked paprika

2 tblsp Worcestershire sauce

a sploosh of sherry (about ¼ cup) if you want

salt and pepper

In a heavy pot, sauté the onion and garlic in a splash of olive oil until the onion is clear-ish. Add the peppers and sauté for another few minutes. Add stock (doesn’t have to be completely thawed), beans and everything else. Cover and simmer for about an hour. Serve with cheese on top or some fresh cilantro or maybe a dab of cilantro pesto or basil pesto (we make it during herb season and freeze it in little packets of plastic wrap) or a dollop of sour cream or all of the above if you’re feeling in need of major indulgence. It’s winter. Why not?

Pumpkin Brulee Pie

I’ve done it again. Or rather, I’ve not done it – AGAIN! Taken pictures of food. We grow, harvest, cook and eat, but always, in the midst of wine and men and women, and laughter and conversation, I forget to get the digital camera out and record it for posterity, or at least for Grow It Eat It. Sorry. HOWEVER, I do have a great recipe to share that I made from our compost-heap-produced heirloom French cheese pumpkins (blog post 10/2/13):

Unknown Pumpkin Brluee Pie. Ive got a link incorporated, so you can get a visual (which is actually very similar to what would have been our visual had I had the camera and just a little less chardonnay).

http://www.bonappetit.com/recipe/bruleed-bourbon-maple-pumpkin-pie

The recipe that the link links to is bruleed pumpkin bourbon maple pie, which is slightly different from what I made, but I’ve noted what I did below. In any case, it’s really all very easy, and such fun – candlelight, good company (audience) and a Bernz-o-matic blow torch – what more can you ask from Thanksgiving dinner?

Some of the Pumpkin Harvest

The pie (as I do it) starts with an heirloom French cheese pumpkin (Curcurbita moschata). Cut one in half, which, depending on size, usually requires a hefty knife and some elbow grease  (be careful, you have to be patient and keep working it side to side to get all the way through without slipping and cutting off vital bits of yourself). Scoop out the seeds, which you can save and replant next year or put in the compost for a shot at next year’s serendipitous growth. Turn the halves cut-side down to on a high-sided baking sheet (there will be a fair amount of moisture sloshing around when it’s finished cooking and you don’t want it sloshing all over the bottom of the oven).  Roast at 350F for anywhere from 50 minutes to an hour and a half, depending on size. It should be soft to the touch. Cool enough to handle and scoop out all of the flesh into a sieve over a bowl to let it drain. (Have a cup of tea or read a magazine for about 15 minutes while it’s doing this). Once the roasted pulp has drained, put it into a food processor or blender and process until smooth. Or you can use elbow grease again and do it by hand with a masher followed by a whip as though you were whipping cream to get the pulp really smooth. Then use the pulp as you would canned pumpkin. This sounds like a lot of work, but it’s not nearly so labor intensive as all these words make it sound and the result is MUCH more flavorful than canned. Working time is about 15 minutes total.).

 Now for the recipe:

 You can easily use the recipe in the link. I only use it as a guide and make alterations. For example, I don’t do chocolate crust, which sounds revolting to me (but maybe that’s just me), and instead pre-bake a regular pie crust so it will be completely crispy and done all the way through instead of doughy-and-disgustingly uncooked on the bottom, which is what usually happens when you throw pumpkin filling into an uncooked shell.

 For The Filling: Mix 1 ½ cups of the roasted pureed pumpkin with 3 eggs,  ¾ cup brown sugar, 1 tsp cinnamon, ½ tsp powdered ginger and about ¼ tsp nutmeg, ¼ cup bourbon, and about ¼ cup whipping cream. I throw it all into the food processor, which makes it easy and you don’t even have to clean the machine between pureeing the pumpkin and mixing the filling.  Pour the filling into the pie shell and bake at 325 for nearly an hour or until a knife inserted in the center comes out clean (as you do with custard).

 Now for the fun part:

Spread about 1/3-1/2 cup demerara sugar evenly overtop the slightly cooled pie (give it about 30-45 minutes out of the oven).  Then take the pie and the Bernz-o-matic, which you entrust to a reliable (sober) person to the table. In my case, our sober reliable person was our grown son who promised not to brulee anything besides the pie (and didn’t).

 To Brulee:

Light the Bernz-o-matice, adjust to medium low, and pass the flame over the sugar. Don’t let it linger too long on one spot and continue until the entire top is a melted and has turned into a crusted golden-bronze glaze of sugar. Dramatic and delicious. Cut with a sharp knife and serve with whipped cream. Ooohs and aaahs ensue.

And it all started from the lowly compost.

Cheese Pumpkin beneath a pine tree

Blessings from The Compost Pile

Pumpkin Vines in the Compost

I love compost. I do. It’s rich, dark, earthy-smelling and gives me a sense of being part of the cycle of life. It’s a great addition to the garden beds, but it’s also, often, another inadvertent growing medium – as it was for us this summer.

Last fall, I bought two Long Island Cheese pumpkins (Curcurbita moschata) aka Cinderella pumpkins. They are good keepers, especially if you manage to keep them in a steadily cool place – not quite as good as those rock-hard Blue Hubbards, which I’ve had last nearly nine months and still going strong when I finally took a hatchet to them to cook. Even so, cheese pumpkins in a cool place are usually good keepers — they not only last, but retain a big percentage of their glorious nutrients for months.

I made pumpkin butter out of one of the two cheese pumpkins in December last year and gave some to Dave, who gave me his aunt’s recipe. The other pumpkin, which stayed on a shelf in the cool porch just outside the kitchen, I enjoyed just looking at each time I came in. It was beautiful, smooth-skinned, a lovely peachy orange, and shaped like Cinderella’s coach. Decorative.

Cheese Pumpkin beneath a pine tree

The day I planned to cook it though, I went to pick it up and discovered it had been quietly decomposing from the bottom up.  Ick. I slid it onto a cookie sheet, walked it out to the compost heap on one side of the yard, laid it down gently and forgot about it. Until about June, when I noticed that a few squash plants had started themselves there. I was hoping the vines would turn out to be an Iranian squash and maybe a long-necked pumpkin, both of which I had grown the year before from seed I had saved from those varieties I had bought from a farmer the year before that. But whatever.

I let the plants go; the vines got mowed around – the mower having to take a wider and wider swathe as they spread out into our yard and into the corn field on the other side of the fence – and I watched as the blossoms started along who knows how many plants.

In August, we began to see the fruits. No Iranian squash, which are great, by the way, sweet, flavorful, long keepers, or long-necked pumpkins, which are like giant butternuts, but there were cute little cheese pumpkins dotted here and there among the leaves, some hidden, some proudly showing. Lovely. When we really began to look toward harvest, we discovered the largest one wrapped around a corn stalk in the field beyond our fence. I called Andy, the farmer whose corn it was, to find out when he was combining, (that’s COMbining) and that set the September 20 harvest date for that one.

Some of the Pumpkin Harvest

So far, I’ve cut nine cheese pumpkins of various sizes, given two away, and have got a bunch of  little guys still growing. Fun. And delicious. Soup – curried, or spiced with tomatoes and poblanos, or pumpkin vegetable with garbanzos and smoked paprika and cilantro — pie, muffins, pumpkin spice cake, and of course, pumpkin butter.

Pumpkin Butter

1 cheese pumpkin (or any other dry-fleshed squash)

1 c. maple syrup

¼ cup apple juice

juice and zest of a lemon

1 tblsp ginger, or fresh-grated ginger

1 tsp cinnamon

1 tsp nutmeg

dahs of salt

Cut one cheese pumpkin in half, scoop out the seeds (and save them to plant next year), and roast the halves on a cookie sheet  at 350F until you can easily scoop out the flesh (about 40 minutes, depending on the size of the squash). Let cool enough to handle, scoop out flesh and add with the other ingredients to an enameled iron pot (which distributes the heat evenly and is easier to keep the pumpkin butter from sticking, but a stainless pot will do just as well if you stand there and watch it).  Cook on medium-low heat, stirring frequently about 15-20 minutes until all ingredients are incorporated and the butter is smooth. (You may need to run a hand blender through it to get it smooth). Jar it and refrigerate.  If you put this in a sterilized jar with a sterilized lid and refrigerate it, the lid will probably draw and will keep the butter happily usable for months.  Otherwise, you’re probably looking at a week, maybe two.

Late Summer Beans


Image

Yesterday I picked my first batch of the second wave of haricots verts.   I’m so excited! Slim little things hanging in clusters off a small patch of French green beans that I planted about six weeks ago in a spot that earlier in the season had held leeks.  

 
 Though truly organized gardeners usually get in a whole series of plantings of fall crops, sometimes well into the fall — and then they cover them and carry them through February winters like the one we had last year — I often miss getting a second planting of anything in the garden. But this year weather, energy and timing coincided to make it possible. My husband happened to be home at just the right time to plant, which helped tremendously. I had emptied and weeded (oh so much weeding this summer!) the beds, but he scooped out a lot of compost and spread it on them. I planted arugula, lettuce, kale (from saved seed that was given me by a young gardener friend). I also had a half of the packet of French beans from Cooks’ Garden leftover from the first planting, so emptied it into one of those fresh, beautifully rich-looking squares of earth.  In planting bush beans, I always put the seeds on top of the soil in a grid with each seed about six inches apart from its fellows. When they sprout, you need to weed a little, but as they grow they shade out the weeds. Convenient and efficient.
 Image

Three weeks of no rain here rather too me by surprise. I had gotten out of the habit of watering.  But several days ago – after Erica’s mention of having to get out the watering can, in fact – I filled a couple of five gallon buckets from the rain barrels by the shed and watered the haricots verts and the Calypso beans in the  bed that earlier had held the hardneck garlic, which came out in early July.Image

And so now, I have beans. And lots of blossoms that promise more beans. These first beans, nothing like the rather sad-looking things I’ve been seeing at the grocery store lately, are crisp, slimmer-than-pencil babies that taste wonderful. I sautéed half with a shallot for supper. Takes about eight minutes, and I have a couple of roasted golden beets in the frig for beet and bean salad for lunch tomorrow. I’m hoping for beans  until frost with maybe enough to put a few in the freezer in vaccum sealed bags. (I gave my hunter husband a vacuum sealer for his birthday a few years ago; it’s been a big help in keeping the quality and preventing freezer burn). Meanwhile, I’m grateful for this second flush of production. Summer’s not QUITE over!

Read more: http://groweat.blogspot.com/2013/09/late-summer-beans.html#ixzz2f9XNqQUa

Totally Tomatoes

Yes, it’s been a hard season so far. Lotsa water has encouraged fungal diseases and blight among other things. But it seems churlish to complain since we’re often faced with drought, so given a choice, I’ll take this summer over a lot of others we’ve gardened through.

Supersauce and Big Mama tomatoes

Even though it’s been difficult, I’ve got a semi-steady supply of tomatoes coming in to deal with. More paste varieties than slicers, which was a conscious choice when I started my seeds. I love fresh tomatoes, but I count on having a bunch in jars in the larder for winter. In addition to plain canned tomatoes, which go into casseroles and soups, I make salsa, spaghetti sauce, and spicy tomato bullion for a brothy winter pick-me-up.

I’ve always planted Big Mama paste tomatoes since discovering that variety a decade or more ago (hard to tell, life flies by so fast; it might even have been two decades ago). They are reliable producers, even when hit with early blight, and are a dream to work with in the kitchen, whether it’s stuffing them peeled, halved and raw into a canning jar or peeling and rough-chopping them for sauce, bullion or salsa. This year, I tried a new paste variety, ‘Supersauce’ touted as the largest paste tomato ever. I believe it now that I’ve seen it. They are HUGE. And meaty. Even more so than Big Mamas. Interestingly, though, the plants do not seem to be as hardy as the Big Mamas, and they don’t seem to produce as many fruits. (I expect the hybridizers will improve on them as the years go by). Additionally, they are a little tricky to handle when everything’s wet and juicy, as it is when you’re peeling and chopping. The Supersauce are large enough that I sometimes lose my grip on them; it’s like trying to holding onto a wet bar of soap. Some days, I could probably be on America’s Funniest Home Videos if there were anyone around with a camera in hand.

On the upside, Supersauces are delicious and even more meaty than Big Mamas, and once peeled, make great everything, including tomato juice. Canning tomatoes, no matter what you’re making, always produces juice. To keep the jarred tomatoes or sauce from being too running, I put peeled the chopped tomatoes into a bowl, then before putting them raw into sterilized jars, or throwing them into the confiture, a big French kettle designed for making jam in which I make salsa and sauce, I squeeze the fresh juice from them into a bowl. The juice goes into a second pot and is simmer with veggies –a little cabbage, a carrot, sweet pepper, slice of beet, garlic, onion, celery leaves, maybe a hot pepper, and whatever other veg comes to hand [it doesn’t take much]. When the veggies are all limp and they’ve rendered their goodness intot he tomato juice, I strain it, pour it into sterilized jars and process that. It’s all work, but it’s also very satisfying. Especially in the dead of winter.

Roasted tomatoes marinating


Roasted Tomatoes for Snacks:

Sliced tomatoes about 1/4 inch thick and lay on a baking sheet with sides so the juice doesn’t run onto the oven. Sprinkle with a little salt, a little olive oil and dot with some fresh garlic then roast in a slow over for about 2 1/2 hours. Cool. Layer in a container. Sprinkle each layer as you go with a little white wine vinegar or white balsamic, cover and keep in the frig for a week or more. For lunch or supper (or a great filling snack) spread a little goat cheese on some toast, lay a few roasted tomatoes on top, hit it with a little grind of black pepper. As Homer Simpson would say: Ummmmmm!

Salsa in confiture/V-8 in blue pot in back